We have been talking about making Yooper pasties for awhile now, but it’s really time consuming — so much chopping and peeling! We both live busy lives, and haven’t been able to set aside the time and energy to devote to all the prep work and baking.
If you make pasties, you want to make a lot — and if you’re making a lot, you need a lot of crust, many veggies, lots of meat, and a TON of time. Besides the time it takes to chop veggies, baking each sheet of six pasties takes at least an hour. The good news? They freeze well, and you can reheat them in the oven with much less fuss (microwaving is possible, but yuck).
The Solution: A Pasty-Making Party!
A couple of weeks ago we finally found the perfect opportunity: my good friend Lenora came home for a visit with her mother, Gail. Our pasty-making aspirations happened to align with her goal to make pasties while she was home. We packed our favorite knives, peelers, aprons, and ingredients, and headed to Gail’s house. Gail is an experienced cook, baker, and pasty maker. Plus, she works professionally in an industrial kitchen, making many different dishes and baked goods every day. Gail knows all of the tricks for keeping flavor in each serving of food made in large quantities — we had come to the right place!
We used Gail’s pasty recipe, which was handed down from her Grandma Betty. It includes all of the traditional root vegetables, but adds in celery — and a surprise twist in the last 15 minutes of baking. I’ve never heard of celery in a pasty, but I had eaten her pasties before and thought they were delicious.
-

- Grandma Betty’s recipe, hand written. We wrote it out so you don’t have to figure it out
-
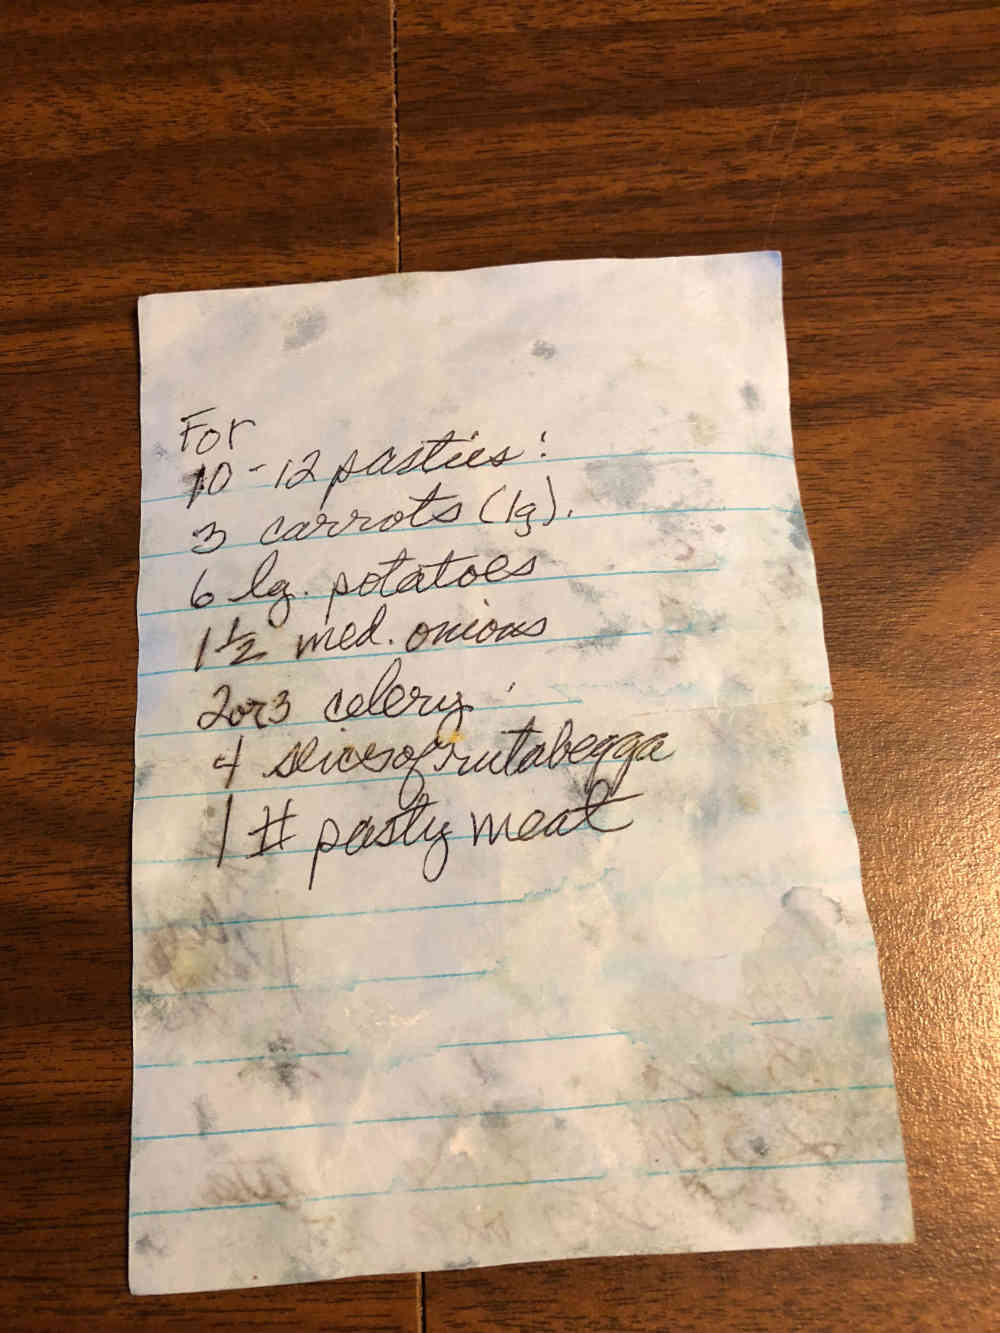
- Grandma Betty’s recipe is much used, and much loved.
All together, there were about seven of us gathered in Gail’s kitchen. Even though we didn’t all know each other, conversation started to flow. We told jokes, discussed movies, books, and even talked about religion and politics. We exchanged recipes and baking techniques. Bragging and smack talk? All flowing freely.
I love this part of group baking — you learn so much about other people’s ideas and world views. Even if you don’t see everything the same way, in that moment you’re all sharing a common goal. Some might say that’s a dangerous thing to do with a bunch of knife-wielding ladies of various beliefs and backgrounds, but I’ll take my chances whenever the opportunity arises.
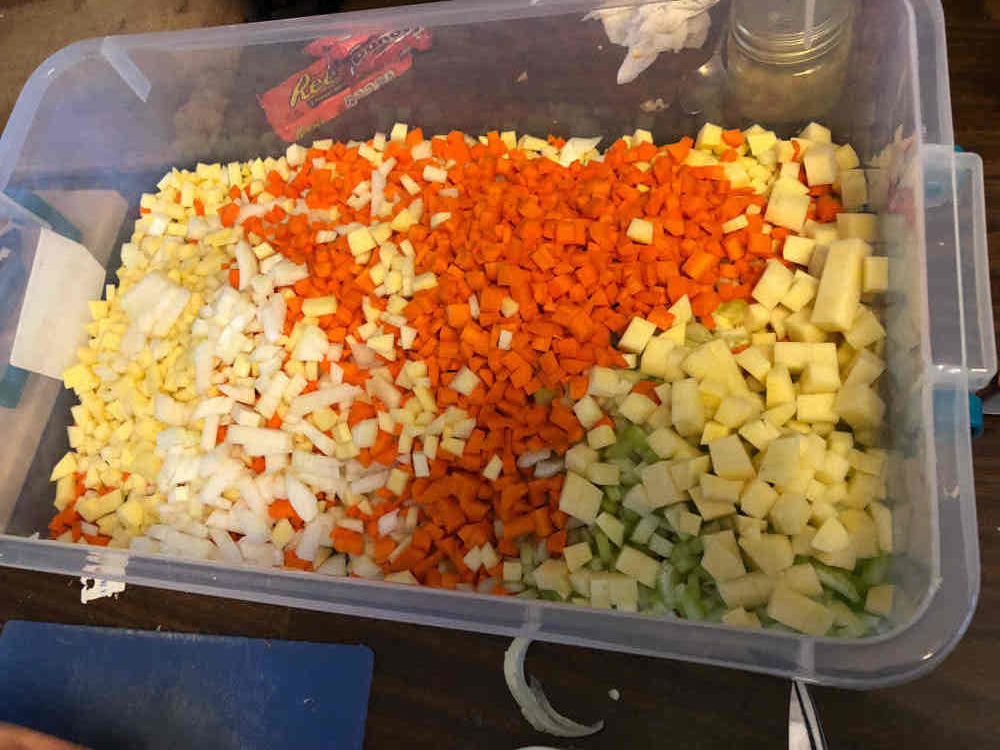
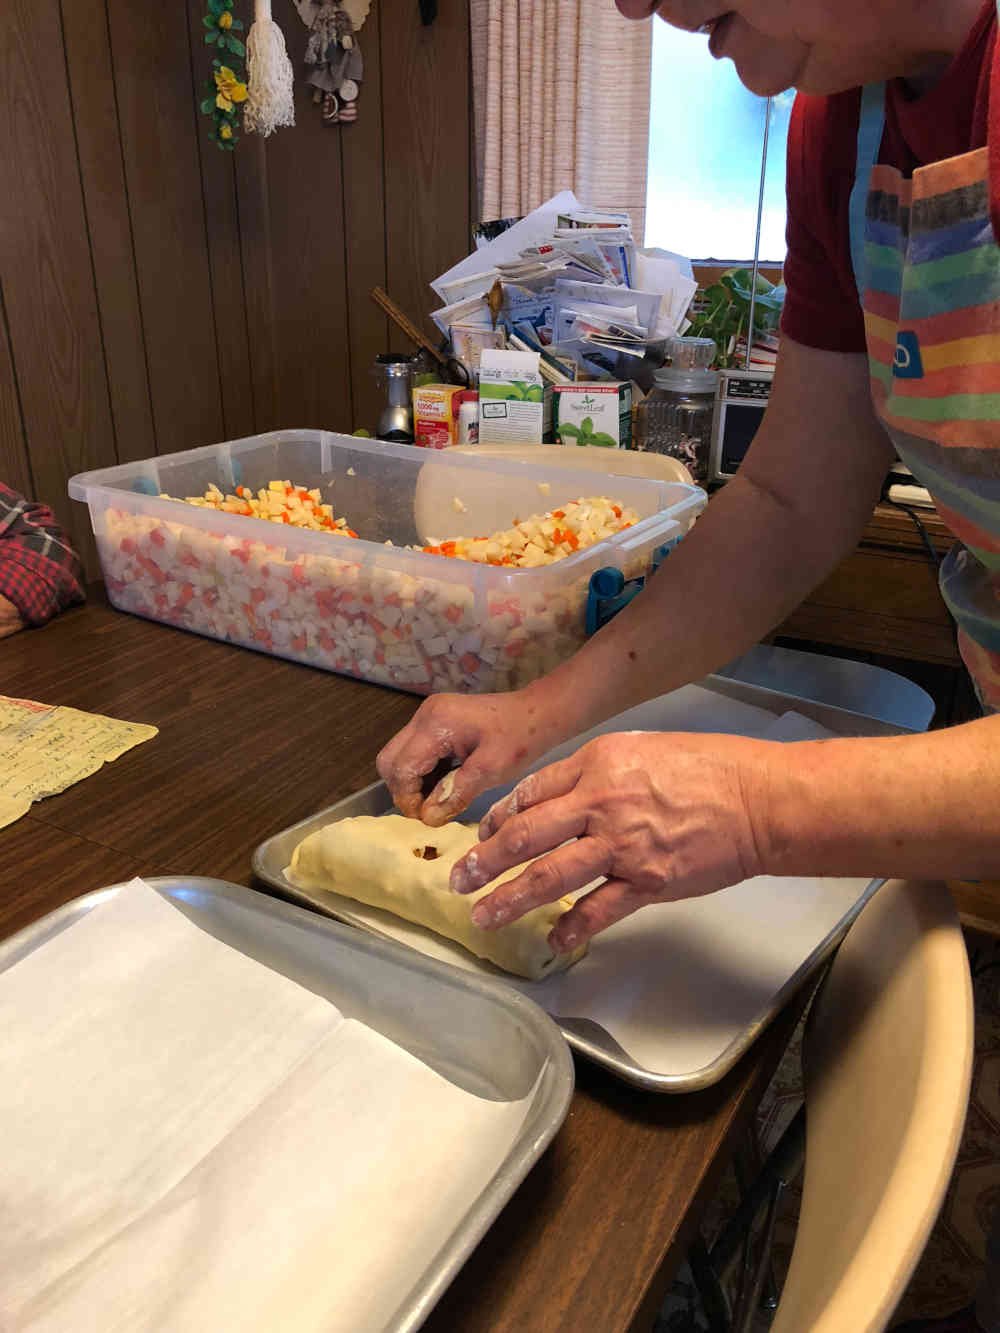
Yes, that is a giant plastic tub filled about half way with chopped veggies
Of course, we took breaks to enjoy cheap wine and expensive cheese, and as they say, many hands make light work. We also used our big gathering of choppers to make chow-chow, a traditional condiment for pasties. (Look out for that recipe, coming soon!) We had the vegetables chopped and peeled in a matter of hours. Next, someone had to mix all of those chopped veggies by hand…there were simply too many to use a spoon.

Hand mixing all of those chopped veggies

What a fabulous job of getting them all evenly distributed
With the veggies mixed, we were ready to assemble our pasties. Gail had prepared and chilled three batches of her pasty crust recipe before we arrived. In the end, we made three more batches of pasty crust to use all of our pasty filling!
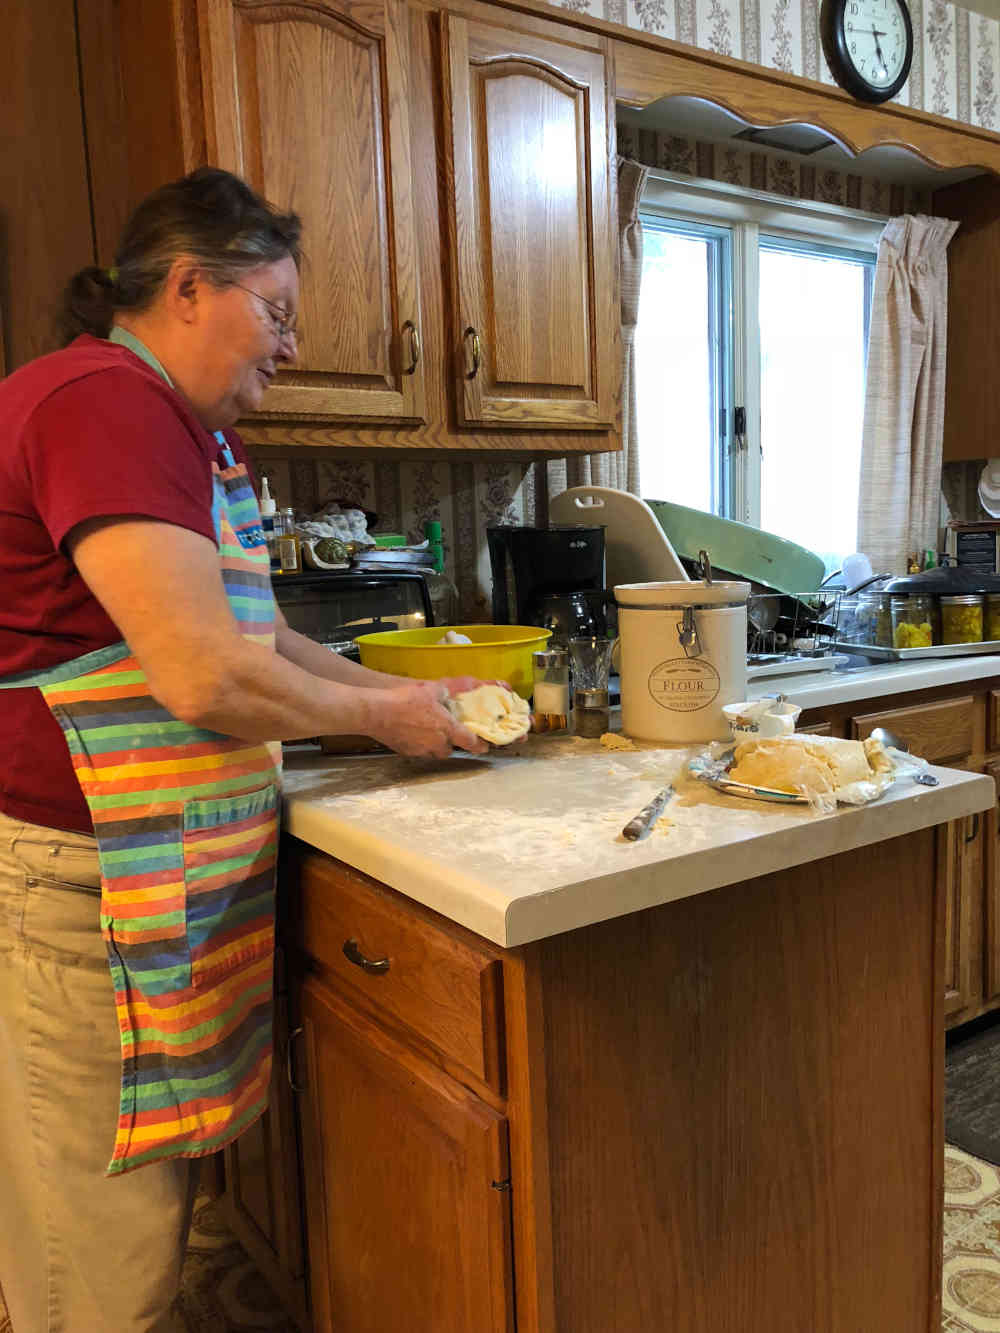
The pasty master, Gail, showing us how it’s done
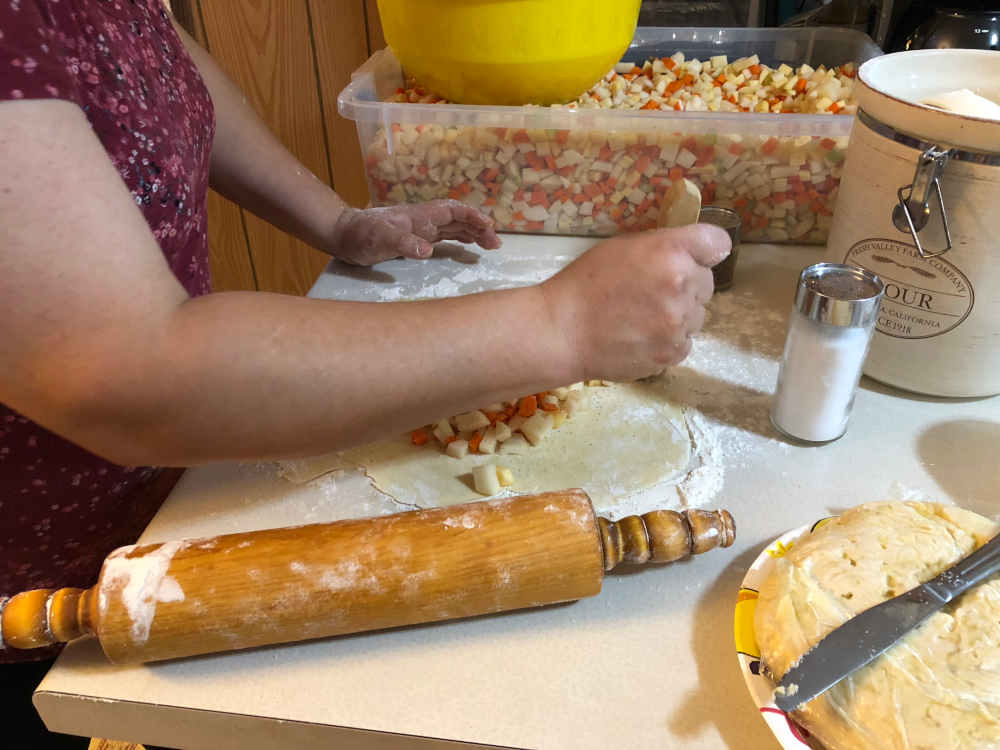
Rolling and Filling Meat and Veggie Pasties
We each took a turn rolling and filling the pasties. One of Gail’s tricks is to season each individual pasty, rather than adding the spices to the larger veggie mixture. That way, you can control the seasoning for each pasty. She was a patient teacher, showing us the proper crimp for the edges and telling us exactly how thin to roll out the dough.

Make sure the dough is thin, but not so thin it can’t hold up to the veggies

Seasoning each pasty individually allows for better control
Brushing the edges with water allows for a better seal
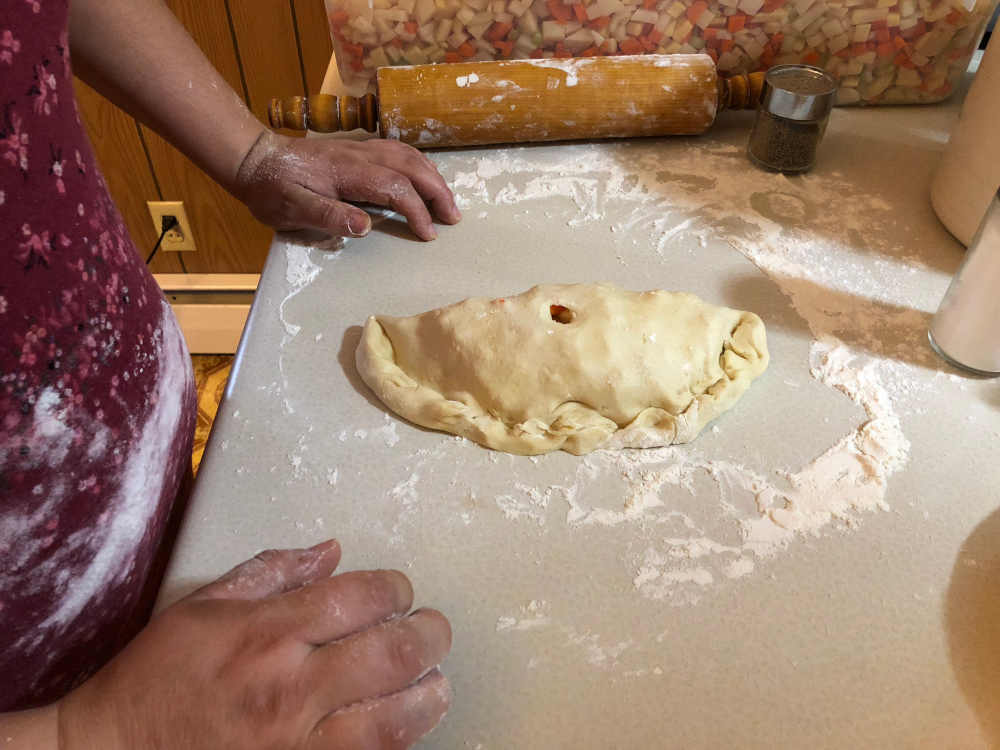
Crimped and with a steam hole for venting
We had vegetarians among us, so our first round of pasties was purely veggie. Next, we made beef pasties for those who eat only Kosher or Halal foods. Finally, we added the traditional beef and pork mixture to the vegetables for the final batch. Well — I say final, but Lenora also made some pizza pasties for her husband (who is not a traditional pasty fan)…but I think that’s wandering into calzone territory. We’ll save that type of hand pie for another day (and another blog post).
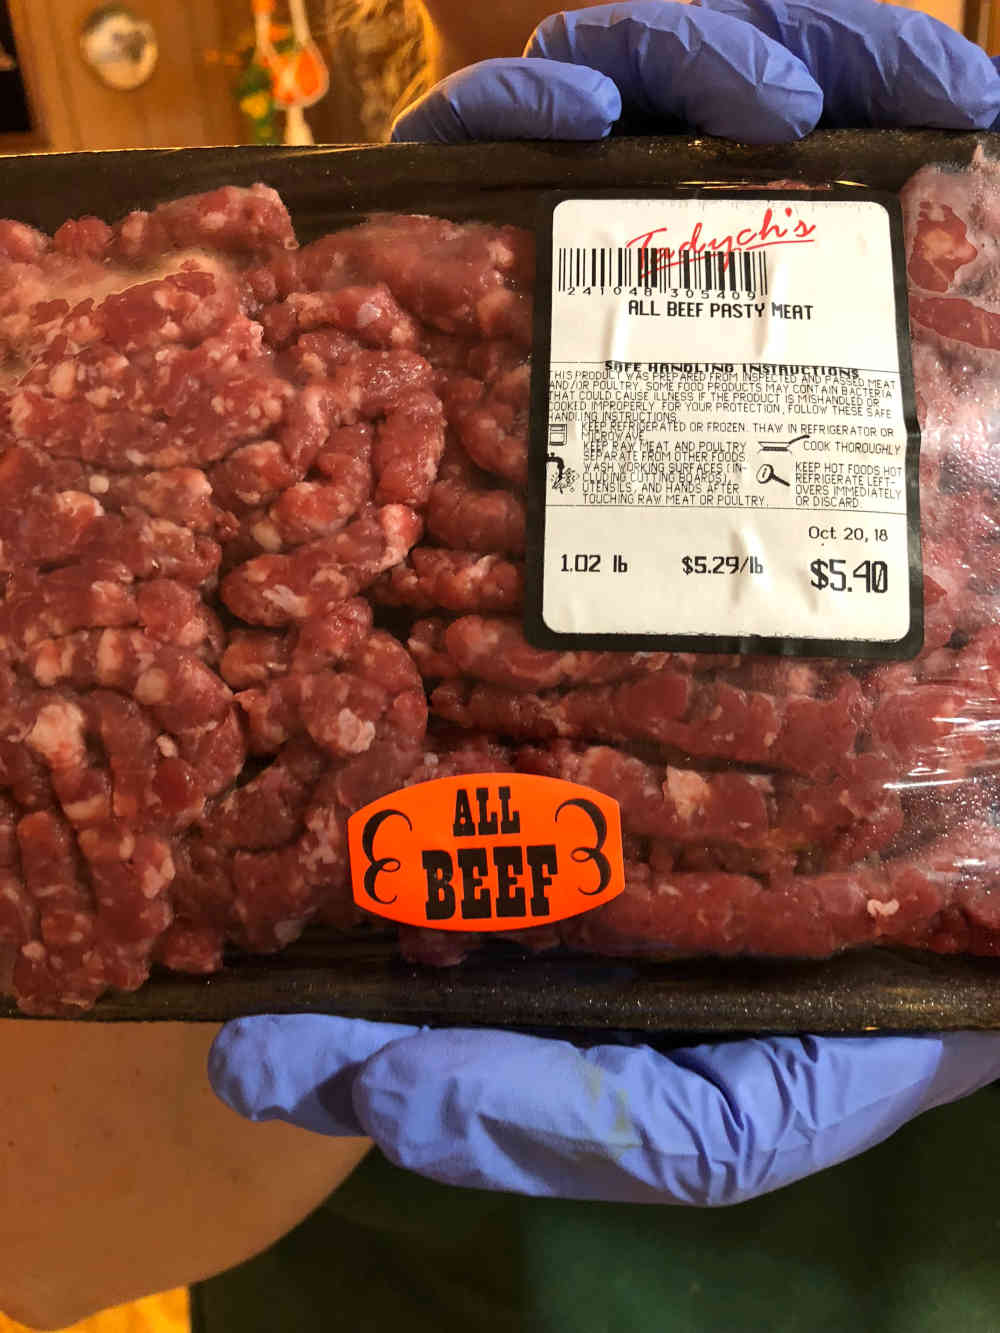
Pasty meat is coarsely ground beef either with or without coarsely ground pork, available in pretty much any Yooper grocery store

Sarah also got to mix in the meat — she’s very good at mixing
Kate: In the picture above, you’ll notice that Sarah is mixing the meat and veggies in a smaller bowl. It’s all in the name of control. This is how you ensure a good ratio of meat to veggies, without having to do a giant bin. It also means that if something goes wrong, you haven’t ruined a huge amount of ingredients (or wasted the time and effort) — you’re only out one small(ish) bowl.
Gail’s Secret Trick for the Perfect Yooper Pasty
Sarah: We nestled the first batch of pasties into baking pans lined with parchment paper. Remember that surprise twist I mentioned? Here it is: Gail had us warm butter and milk in a small saucepan. After nearly an hour of baking, she opened the oven and poured about three small spoonfuls of the milk and butter mixture into each of the pasties. Then, she put them back into the oven for an additional 15 minutes.
Parchment lining helps keep pans clean so you can keep rotating them in and out of the oven with each batch
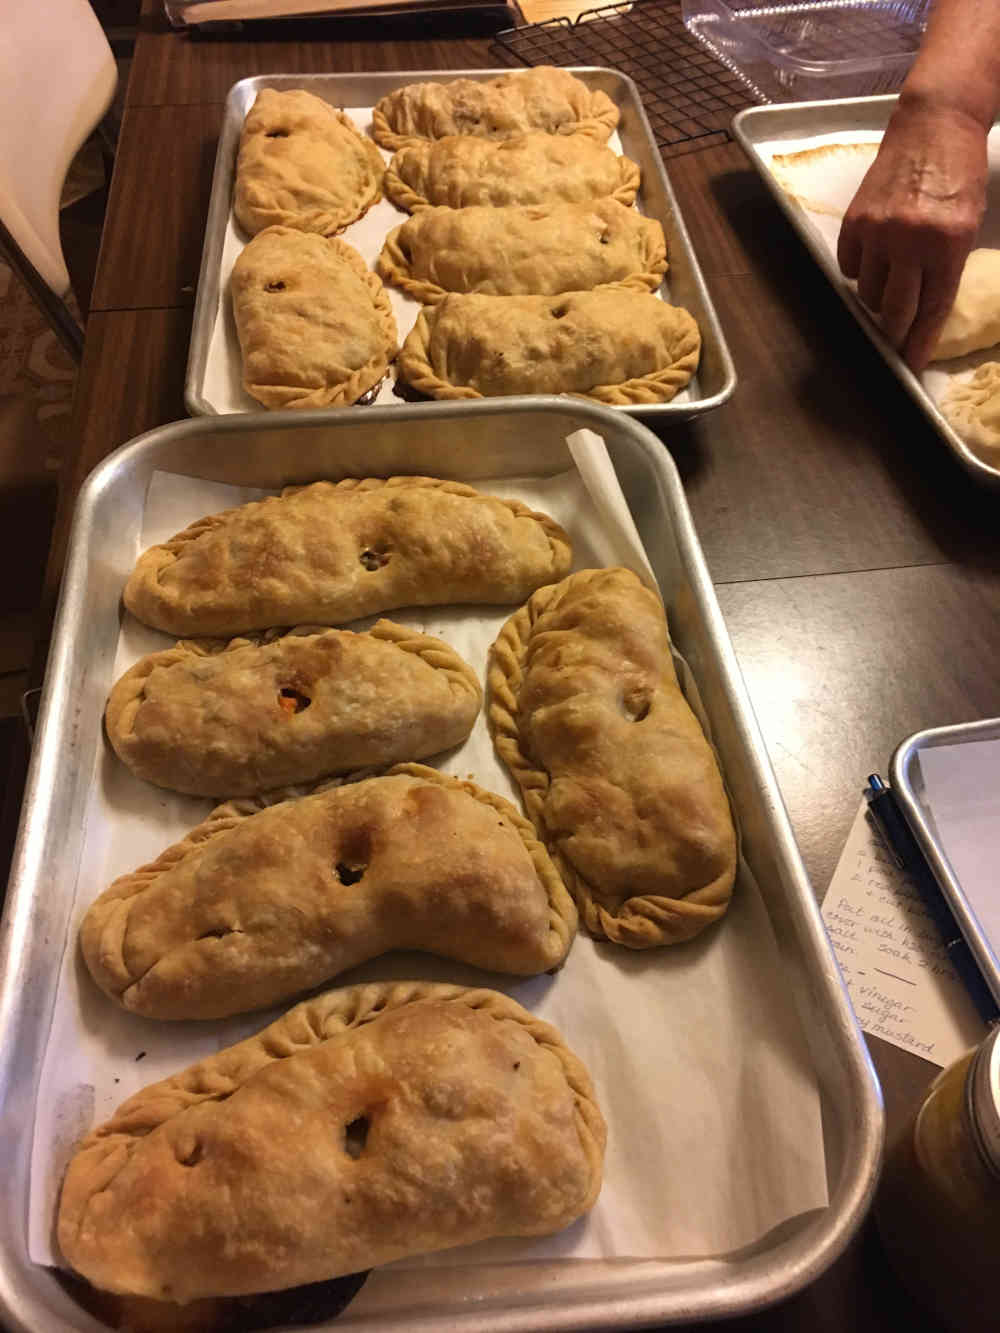
All baked up and cooling
The result? Undeniably delicious Yooper pasties with a flaky crust, tender vegetables, and flavorful meats. We all ate a pasty to celebrate, and had plenty left over to share with family and friends.
Are you ready to do your own extreme pasty baking party? Just gather at least seven pasty-minded bakers, make six batches of the pasty crust, and triple the amount of vegetable and meat from our recipe. If you’re not that ambitious, scale it back to make only a few pasties — or even just one pasty in a pie pan. Any way you do it, you won’t be disappointed!
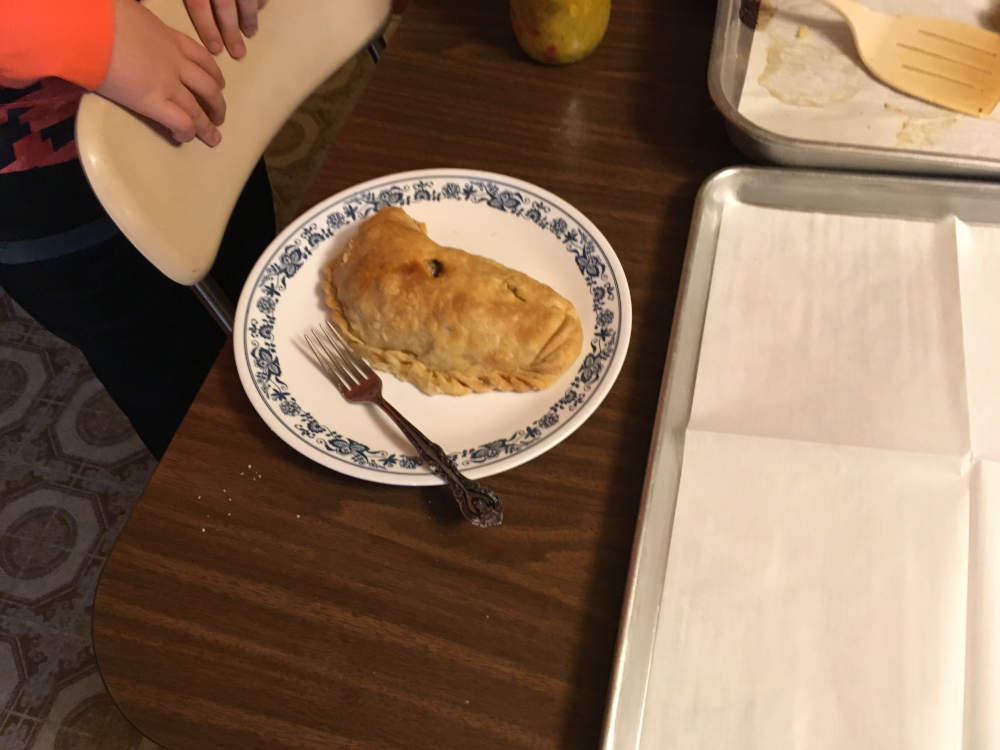
Of course we had to eat a fresh, hot pasty…we’d worked hard!
Yooper Pasty Crust Recipe
(Makes 10-12 pasties)
1 ½ c. boiling water
1 ½ c. shortening
4 ½ c. flour
1 ½ tsp salt
Yooper Pasty Filling Recipe
(Makes 10-12 pasties)
3 large carrots-peeled, diced
6 large potatoes-peeled, diced
1 ½ med. Onion
2-3 celery ribs diced
4 large slices of rutabaga-peeled, diced
1 lb of pasty meat (coarsely ground meat)
Pepper-to taste
Salt-to taste
Liquid (to be added at the end of baking):
1 cup milk
3 tbs butter
How to Make Yooper Pasties
- Preheat oven to 350 degrees
- In a bowl, place the shortening (Gail used butter-flavored Crisco) and pour boiling water over to melt the shortening.
- Stir in the salt, and add in the flour a cup at a time, until a dough forms.
- Knead once or twice to fully incorporate the liquids into the flour, then place on a plate, cover and chill.
- Combine all of the first six filling ingredients in a large bowl.
- Roll out enough dough to place one cup of ingredients in the center and be able to fold over.
- Put half of a cup of filling onto the dough. Season lightly with salt and pepper.
- Add the second half a cup and repeat seasonings.
- Use water and a pastry brush to dampen the edge of the pastry dough.
- Fold dough over the filling.
- Crimp the dampened pastry dough edges together
- Place the pasty on a baking sheet lined with parchment paper.
- Make a vent in the top of the pasty.
- Once your pan is full, bake for 45 minutes at 350
- Heat milk and butter mixture in a saucepan on the stove.
- Pour 3 tsp of milk and butter mixture into the vent of each pasty that has baked for 45 minutes and then return them to the oven to bake for another 15 minutes.
- Remove from oven, cool, and enjoy!
Do you have any tricks for the perfect Yooper pasty? Let us know in the comments!

2 Comments
Nancy Birondo
November 5, 2018 at 8:21 amMaking Pasties in a group sounds fabulous!
Sarah
November 21, 2018 at 10:00 amIt was so much fun, not to mention a lot easier than chopping all of the vegetables by myself.